I recently read this tweet from @apreshill that linked to some slides by datalorax covering how to make custom themes for Xaringan, my favorite Rmarkdown presentation package. They’re really good slides and I highly recommend flipping through them.
@datalorax even has a package in development called slidex that converts the content of a PowerPoint to Rmarkdown, but what about the theme? I don’t have a magic package to solve this issue, but I thought I’d outline some steps I use to re-create PowerPoint themes in Xaringan. This is useful if you have an organizational/departmental theme that you need to use, but would rather have the reproducibility and feature set of Rmarkdown/Xaringan.
If you haven’t done so already, follow the instructions to install Xaringan.
Create a package to hold your template(s)
Most departmental templates are going to have a small user base (maybe just you…), so they don’t really need to be contributed back to Xaringan. I think the best solution is to create a personal package to hold the templates which you can share within your organization as needed.
if (!require(usethis)) {install.packages('usethis')}
library(usethis)

# Change the path below for your file system
pkgpath <- 'E:/Code/mytemplates'

usethis::create_package(pkgpath)
This should create a package and open it in a new Rstudio session. Now we need to create the template directory structure. In the code below I’m giving the template the name DeptPPT
if (!require(fs)) {install.packages('fs')}
library(fs)

fs::dir_create(paste0(pkgpath, '/inst/rmarkdown/templates/DeptPPT/skeleton'))
Now we need to create a skeleton Rmd file that will be the basis for the template. Here is a pretty simple Xaringan skeleton (sample text from Cat Ipsum:
---
title: "PRESENTATION TITLE"
subtitle: "SUBTITLE"
author: "Jason Winget"
date: "`r Sys.Date()`"
output:
xaringan::moon_reader:
css: [default, 'mytemplate.css', 'myfonts.css']
lib_dir: libs
nature:
ratio: "16:9"
highlightStyle: github
countIncrementalSlides: false
---
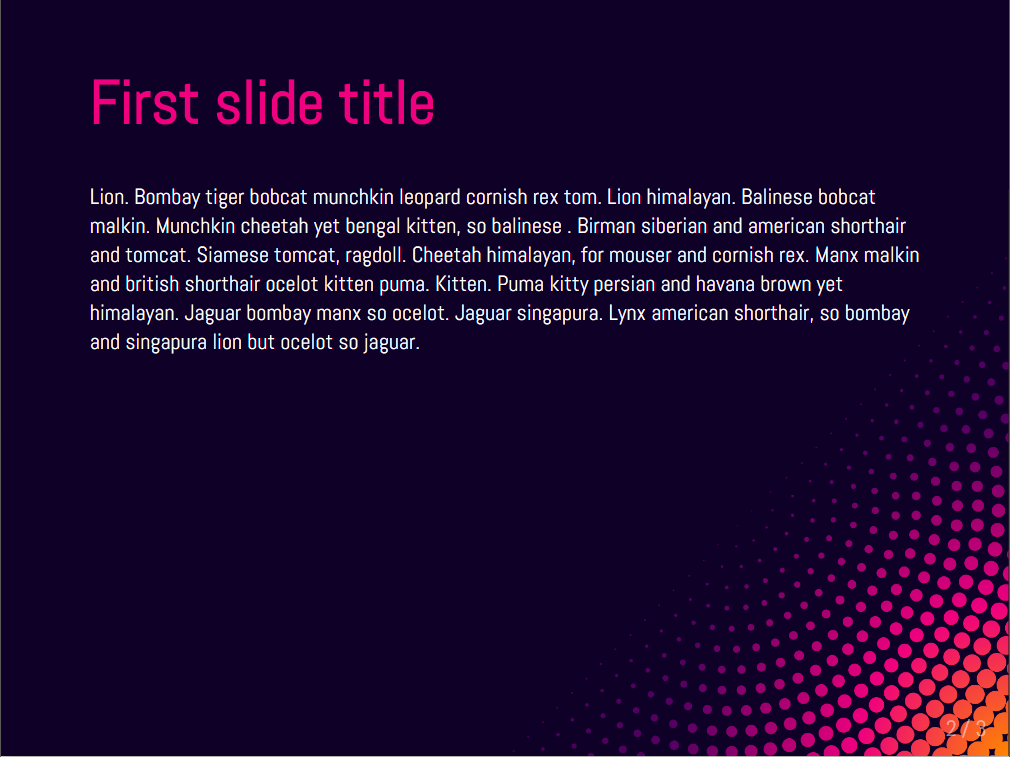
# First slide title
Lion. Bombay tiger bobcat munchkin leopard cornish rex tom. Lion himalayan. Balinese bobcat malkin. Munchkin cheetah yet bengal kitten, so balinese . Birman siberian and american shorthair and tomcat. Siamese tomcat, ragdoll. Cheetah himalayan, for mouser and cornish rex. Manx malkin and british shorthair ocelot kitten puma. Kitten. Puma kitty persian and havana brown yet himalayan. Jaguar bombay manx so ocelot. Jaguar singapura. Lynx american shorthair, so bombay and singapura lion but ocelot so jaguar.
---
# Second slide title
.pull-left[
* Ragdoll bobcat russian blue
* Ocelot himalayan yet burmese
* Manx savannah for grimalkin and american bobtail
]
.pull-right[
> Cornish rex american bobtail sphynx for cornish rex so siamese, mouser and munchkin. Tomcat lynx, yet american bobtail cornish rex for balinese for russian blue so egyptian mau. Siberian ragdoll, for maine coon turkish angora. Russian blue mouser leopard and himalayan. Bombay bombay yet american bobtail maine coon.
]You should set up this skeleton with some standard structure that you often have in a presentation. Every presentation you create will start with whatever is in this file, so it’s very helpful to include a link to Xaringan docs and some simple examples of markdown/layout.
For example, I like to include an R setup block that loads the tidyverse, DT, and other packages as well as sets knitr chunk options. Save this file as skeleton.Rmd in the skeleton directory we made above.
Notice in the skeleton header we reference two css files: mytemplate.css and myfonts.css. Those will be where we create the style later. For now just create two empty files in the same directory as skeleton.Rmd
Next we need to create a template.yaml file in the folder named DeptPPT above (or whatever you’ve renamed it to). This is a simple file that just looks like the following:
name: Department PPT
description: A recreation of the departmental PowerPoint template
Make sure to put a newline at the bottom of this file.
This is the name that will show up in the Rstudio menus when you create a new document.
OK, now let’s install our package.
if (!require(remotes)) {install.packages('remotes')}
library(remotes)

remotes::install_local(pkgpath)
Restart your R session Ctrl+Shift+F10, then go to File > New File> R Markdown, click “From Template” on the bottom left, then input a title and select a directory. Since the template has associated CSS files, it will create a new directory to hold itself. You should get a new tab in Rstudio containing a copy of the skeleton.Rmd file we made above.
For now, just knit the skeleton and open it in a web browser. After knitting, open the myfonts.css and mytemplate.css files that are created in the new directory (not the empty files we made above).
Recreating a theme
OK, I don’t know what your departmental theme looks like, so I’m going to reproduce part of this iago theme just to give an example of how to go about it. Now we’re going to have to get our hands dirty with CSS, but usually you can go pretty far with a few simple rules.
Let’s start with the easy part, the fonts. This theme helpfully tells us that it uses “Abel”, which is available on Google Fonts.
Go to the open myfonts.css and add the following lines:
@import url('https://fonts.googleapis.com/css?family=Abel');
body { font-family: 'Abel', sans-serif; }
Save the file and refresh the slides in the browser. You should see that the fonts have all changed to Abel! One cool thing about CSS changes is that we don’t have to re-knit to see them. If you don’t see Abel fonts, make sure you’re connected to the internet and that you added the lines to the right myfonts.css file.
OK, now let’s really get into it by working on mytemplate.css.
One thing that helps a lot here is the inspect feature in Google Chrome. Press Ctrl+Shift+I in your browser to pull up this window. You can hover over the HTML to see where the display comes from.
First let’s fix the text and background image/colors. First I used a screenshot (Prt Scr) and Paint to get a clean version of the background image. I saved this in the presentation folder as background.png. You might be able to save this straight out of your template. Next we edit mytemplate.css.
I also used the color selector in GIMP to get the primary dark purple background color
.remark-slide-content {
  background: url('background.png') #0F0027;
  background-size: contain;
  background-repeat: no-repeat;
  background-position: right bottom;
}

body {
  color: white;
}

h1 {
  color: #ef007e;
}

a {
  color: #ff8700
}
Even with just these few rules we’re already kind of close!
Let’s move the slide numbers to the top right and make them orange. Still working in mytemplate.css:
.remark-slide-number {
 position: absolute;
 top: 1em;
 right: 1em;
 color: #ff8700;
 opacity: 1;
}
To change the format to just show the current slide number, we have to edit the YAML header at the top of our presentation:
nature:
  slideNumberFormat: "%current%"
And re-knit to see the change, since we changed the Rmd.
That should get you started with CSS. Let’s clean up the title slide and wrap up this blog post.
Again, I took a screenshot of the title slide background and saved it as title_bg.png in the presentation folder. Then we just need to set some styles on the title:
.title-slide {
  background: url('title_bg.png') #0F0027;
  background-size: contain;
}

.title-slide h1, .title-slide h2, .title-slide h3 {
  font-weight: 100;
  color: #ef007e;
}

.title-slide h1 {
  font-size: 5rem;
}

.title-slide .remark-slide-number {
  display: none;
}
Wrapping up
Once you’re happy with the look, copy the images, mytemplate.css and myfonts.css files into their counterparts within the package we created at the beginning. You might also want to overwrite the content of skeleton.Rmd with any changes made, like the slide number formatting.
You’ll also need to reinstall the package every time you update it.
Whew, we made it! That ended up being kind of wordy, but it’s really not too challenging. Give it a try, and tweet me @iplusfour if you have any issues.
Once you’re happy with the template, make sure to version control your package! You can easily add more Rmarkdown templates to the same package by creating new directories under /inst/rmarkdown/templates. I have some for detailed team reports, summary documents, etc.
Stay awesome!